 How-to
How to Evaluate Original Print Condition
Last Updated: November 15, 2026
Quick Summary
Evaluate original print condition by inspecting the sheet in a set order, front and back, under raking light and magnification. Grade the paper, edges, image and margins separately, and describe each flaw's location and size. Condition should be judged before price and kept separate from authenticity.
- Condition sets the baseline for any valuation, so inspect it before looking at price.
- Use a bright raking light at a low angle plus a 4x to 10x magnifier.
- Describe each flaw's location, size and whether it breaks the paper surface, not just the grade.
- Grade the image area separately from the sheet, since they can differ.
- Keep condition, authenticity and value as separate questions in your notes.
Table of Contents
- Why Condition Matters Before You Look at Price
- Print Condition Grading: The Standard Scale and Its Terms
- Handling and Setting Up Safely Before Inspection
- Step-by-Step Inspection Checklist for Original Print Condition
- How to Tell If a Print Is Original Before Assessing Condition
- Separating Condition, Authenticity, and Value in an Art Print Appraisal
- Documenting Your Findings and Deciding When to Call an Appraiser
- Frequently Asked Questions
Evaluating original print condition is the step most collectors rush, and it is the step that most affects what a work on paper is worth. At Steven Vail, a Des Moines gallery specializing in American and European modern and contemporary works on paper and original prints, we treat condition as the first question, not the last.
This guide walks through how to examine a print in an organized way. It covers the standard grading vocabulary, safe handling, a repeatable inspection checklist, how to separate condition from authenticity, and how to record what you find. Condition is judged by sight, touch and good lighting, not by guesswork.
Why Condition Matters Before You Look at Price
Condition is the physical state of the sheet as it exists today. It covers paper, surface, edges, color and any damage or repair.
Price is a judgment built on condition, rarity, provenance and demand. If you start with the price tag, you may anchor on a number and miss flaws that should change your view. Looking at condition first gives you a fixed reference point.
- Condition sets the baseline for any valuation.
- Visible flaws often matter more than the artist's name.
- Good condition is usually easier to resell and easier to insure.
Print Condition Grading: The Standard Scale and Its Terms
Dealers, auction houses, and appraisers commonly use a shared vocabulary, though exact wording varies by house and by specialty.
- Mint: No visible flaws, original margins intact, paper and color as issued. In practice, true mint is rare in anything printed before the mid-twentieth century, and many dealers reserve the term for works that have never been framed or handled.
- Excellent: Minor, hard-to-see marks only, such as a light handling mark outside the image or a faint pencil notation in the margin.
- Very good: Small, limited flaws that do not affect the image, such as slight edge wear, a soft corner, or minor toning at the sheet edge.
- Good: Noticeable but stable flaws, such as light foxing, a small crease that does not break the paper, or a short tear in the margin that has been properly repaired.
- Fair or damaged: Significant problems, such as tears that enter the image, heavy staining, losses, or active mold.
A useful habit is to grade the sheet and then grade the image separately.
When you write a condition note, describe the specific flaw as well as the grade.
Watch out: do not upgrade a grade because a flaw is hidden by a mat or frame. Grade what you can see, and note explicitly what you could not examine.
Handling and Setting Up Safely Before Inspection
Protect the print before you judge it. Oils from skin, dust and rough surfaces can add new damage during an inspection.
- Wash and dry your hands, or wear clean cotton or nitrile gloves.
- Work on a clean, flat, padded surface away from food and drink.
- Lift the sheet by its edges or by a corner, never by the image area.
- Remove the print from its frame only if you can do it safely. Many frames are glued, and a frame may hold a mat that is itself a condition issue.
- Keep the sheet horizontal when moving it, and support the full sheet.
Watch out: do not flatten a curled or creased sheet by pressing or ironing it. That can crack the surface or set a crease permanently. If the sheet needs conservation, refer it to a professional.
Step-by-Step Inspection Checklist for Original Print Condition
Work the same way on every sheet so you can compare them fairly, and record results as you go. The sequence below runs from the whole sheet to the smallest detail, front before back, because a flaw on the reverse often explains a mark on the front. This ordered approach is the part most guides skip, and it is what makes two inspections comparable.
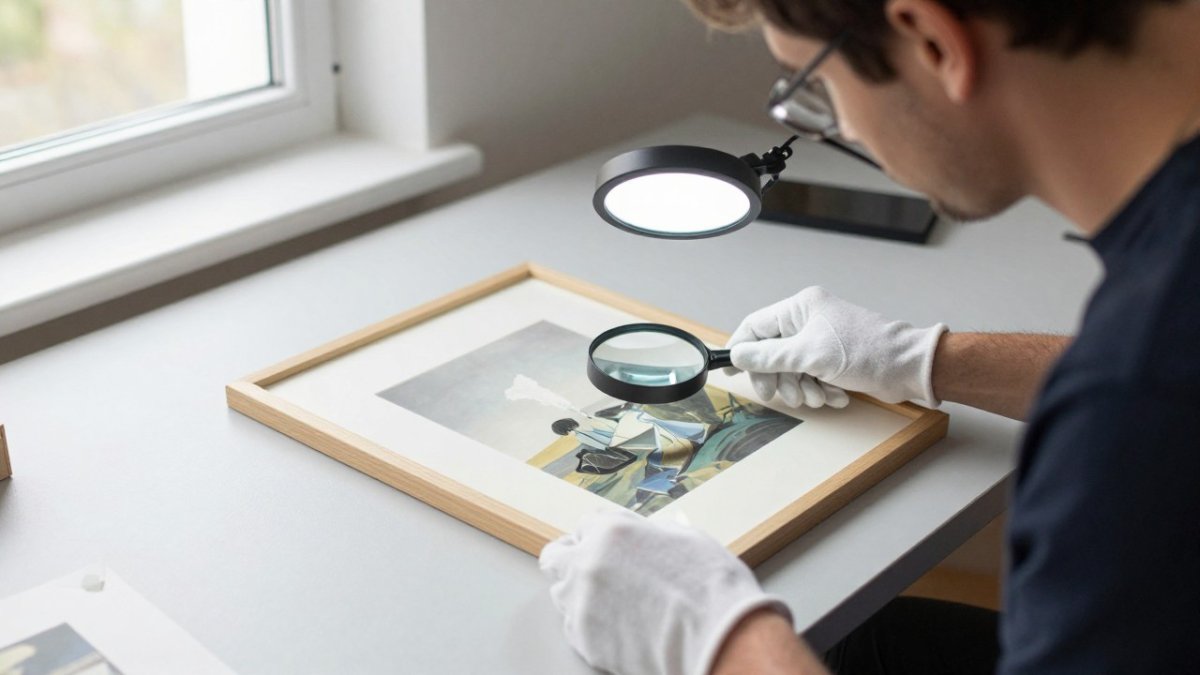
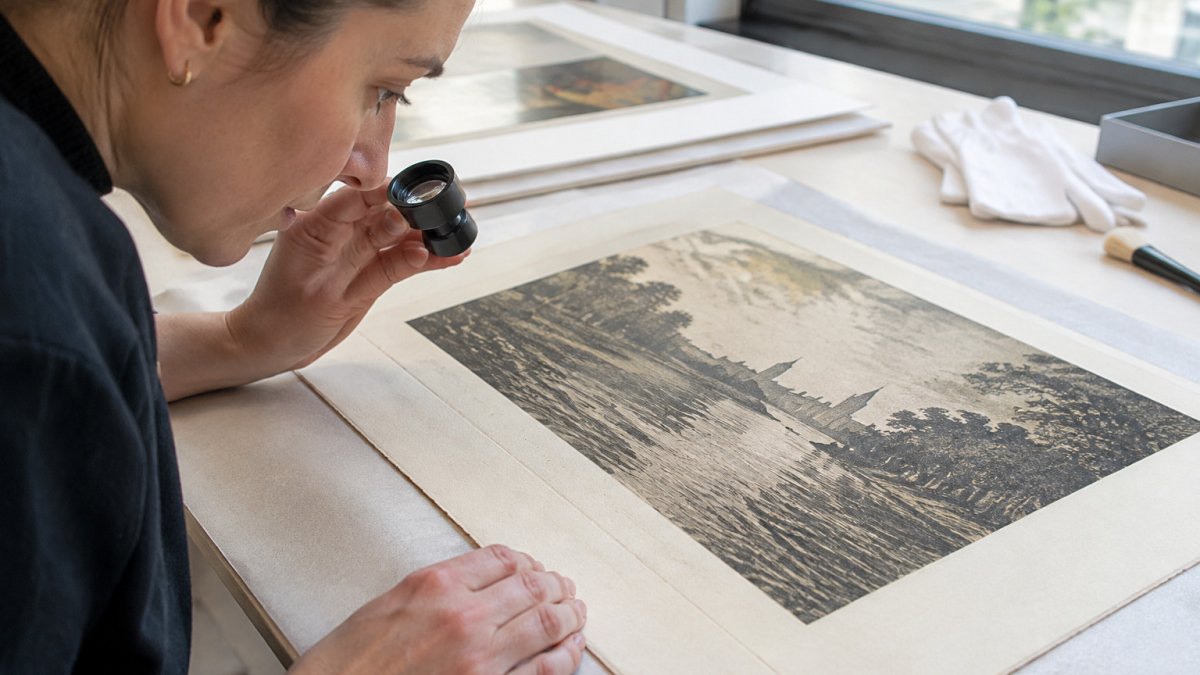
- Set up the viewing station. Use a clean, flat, padded surface. Add a bright, raking light held at a low angle to catch creases and surface texture, plus a magnifier in the 4x to 10x range for ink and paper detail. Keep a ruler and a camera within reach.
- View the whole sheet at normal distance, front and back. Note the overall tone, any large discoloration, and whether the sheet lies flat. A sheet that will not lie flat has likely been rolled or stored poorly.
- Examine the paper for discoloration, foxing, and surface stains. Tilt the sheet toward the raking light and look across the surface rather than straight down.
- Examine edges, corners, and margins for creases, tears, and wear. Run a fingertip lightly along each edge, or use a straightedge, to feel for nicks you cannot see.
- Look at the image area for scratches, abrasion, fading, and ink loss. Check dark passages first, since abrasion shows there most clearly.
- Check the reverse for old repairs, tape, backing material, and offset. Tape stains and adhesive residue often appear on the back before they show through the front.
- Note framing and mounting issues that may have caused damage. Look for mat burn, glue at the edges, and hinge remnants.
- Photograph each finding with a scale reference and label it to match your notes.
Checking the Paper: Foxing, Staining, and Aging
Paper ages in predictable ways, and the signs are easy to misread. Foxing is the term for the brownish spots that often appear on older paper, usually linked to moisture and metal impurities in the sheet.
- Foxing: Small, roughly round brown spots. Light and stable is a minor issue; widespread or active foxing lowers the grade.
- Staining: Larger tide lines or discolored areas, often from water or adhesives.
- Yellowing or browning overall: Common in aged paper and usually reflects age and light exposure.
Under raking light, check whether discoloration sits in the paper or on the surface. Surface deposits may be removable by a conservator, but do not attempt to clean the sheet yourself. Ultraviolet light is a common tool for spotting repairs and adhesive residue.
Checking Edges, Creases, Tears, and Surface Wear
Edges are where most handling damage shows. A sheet that has been folded, rolled, or stored loosely often carries creases that catch the light.
- Edges: Look for chips, fraying, and tears. Small edge wear may be acceptable in a good-grade print.
- Creases: Note the location and whether the crease breaks the paper surface or the image.
- Surface wear: Check for abrasion, rubbing, and loss of ink or pigment, especially in dark areas.
Use the raking light to find flaws that disappear under flat light. A crease that crosses the image is far more serious than one in a blank margin. Measure every tear and crease and record the measurement, because size changes how a conservator and an insurer treat the flaw.
Handling the Sheet Without Adding Damage
Protect the print before you judge it. Oils from skin, dust, and rough surfaces can add new damage during an inspection.
- Wash and dry your hands, or wear clean cotton or nitrile gloves. Nitrile gives a better grip on smooth paper than cotton.
- Lift the sheet by its edges or by a corner, never by the image area, and support the full sheet horizontally when moving it.
- Remove the print from its frame only if you can do it safely. Many frames are glued, and a frame may hold a mat that is itself a condition issue.
- Do not flatten a curled or creased sheet by pressing or ironing it. That can crack the surface or set a crease permanently.
Watch out: if a sheet is brittle, torn, or stuck to its backing, stop and refer it to a conservator rather than completing the inspection yourself.
The checklist below summarises the inspection steps in order, from the whole sheet down to the smallest detail.
| Step | What to do | Note |
|---|---|---|
| 1. Set up viewing station | Clean flat padded surface, raking light, magnifier | Magnifier in the 4x to 10x range |
| 2. View whole sheet | Check front and back at normal distance | Note tone, discoloration and whether it lies flat |
| 3. Examine paper | Check for discoloration, foxing and stains | Tilt toward raking light |
| 4. Examine edges and margins | Look for creases, tears and wear | Run a fingertip along each edge |
| 5. Look at image area | Check for scratches, abrasion, fading and ink loss | Check dark passages first |
| 6. Check reverse | Look for old repairs, tape, backing and offset | Tape stains often show on the back first |
| 7. Note framing issues | Look for mat burn, glue and hinge remnants | Note any damage the framing caused |
| 8. Photograph findings | Photograph each finding with a scale reference | Label photos to match notes |
How to Tell If a Print Is Original Before Assessing Condition
Condition assessment assumes you already know what you are examining. Before you grade a sheet, confirm that it is an original print and not a reproduction.
Original prints are made by the artist or under their direction using a printmaking process such as etching, lithography, screenprinting or woodcut. Reproductions are photomechanical copies made from an existing image.
Be careful not to let a condition question become an authenticity question. A pristine reproduction is still a reproduction. Keep the two checks separate in your notes.
Separating Condition, Authenticity, and Value in an Art Print Appraisal
Three separate questions shape the value of a work on paper, and they should be recorded separately:
- Condition: What is the sheet's physical state today?
- Authenticity: Is it genuinely the original print the record describes?
- Value: What would a buyer pay, given condition, rarity, edition and market demand?
A print can be in excellent condition and still be a reproduction, which makes it worth far less. A genuine print in fair condition can still hold substantial value. Keeping the questions apart prevents one strong impression, such as a beautiful surface, from distorting the others.
A formal appraisal for estate, insurance or tax purposes usually requires a qualified appraiser and a written report that follows recognized professional standards. Condition is one input among several.
Documenting Your Findings and Deciding When to Call an Appraiser
Good documentation is the difference between a useful inspection and a memory. Record the sheet's dimensions, medium, the visible signature and date if present, and each condition finding with its location.
- Take front and back photographs in consistent light, with a ruler in frame.
- Take close-ups of each flaw, and label them to match your notes.
- Keep a dated log of every inspection, and retain your photographs.
Call a professional appraiser or conservator when you find active damage, possible repairs, questions of authenticity, or when the print is needed for an estate filing, insurance policy or sale.
If you are considering buying, selling or appraising a work on paper, the team at Steven Vail can help you review its condition and discuss appraisal options.
Frequently Asked Questions
How can I tell if a print is original or just a print?
Start with the edition information, signature, and printing method. Original prints are typically made by the artist through techniques such as etching, lithography, screenprinting, or woodblock, and are often signed and numbered in pencil. Reproductions usually show a uniform, mechanically produced dot or pixel pattern when viewed under magnification, and they often lack pencil signatures or carry a printed signature. Compare any markings against published catalogue raisonne entries or the publisher's records, and consult a qualified appraiser when the evidence is unclear.
Does foxing affect the value of a print?
Foxing, the rust-colored spotting caused by iron and fungal activity in aging paper, usually reduces value because it is a visible flaw. The impact depends on how many spots there are, their size, and whether they sit in the image or only in the margins. Light marginal foxing on a rare work may have a smaller effect than heavy spotting across the image area. Foxing is generally stable, but a conservator should assess it before any treatment is attempted, since improper cleaning can cause further damage.
When should I have an original print professionally appraised?
Get a professional appraisal before buying at significant cost, before selling or consigning, when settling an estate, and when you need documentation for insurance or tax planning. A written appraisal for estate or tax purposes should be prepared by a qualified appraiser. Fees and turnaround times vary by the work's complexity and the appraiser's scope, so contact Steven Vail directly for current information on appraisal services.
What condition issues reduce the value of an original print?
Tears, creases, losses, heavy staining, active mold, trimmed margins, and significant fading or abrasion typically reduce value. Minor flaws such as light handling marks or small margin foxing often have a smaller effect, particularly on a strong image. Restoration can improve appearance but must be disclosed, because undisclosed repairs can affect both value and provenance. Document each flaw with close-up photographs and measurements so the assessment is repeatable.
